In This Article
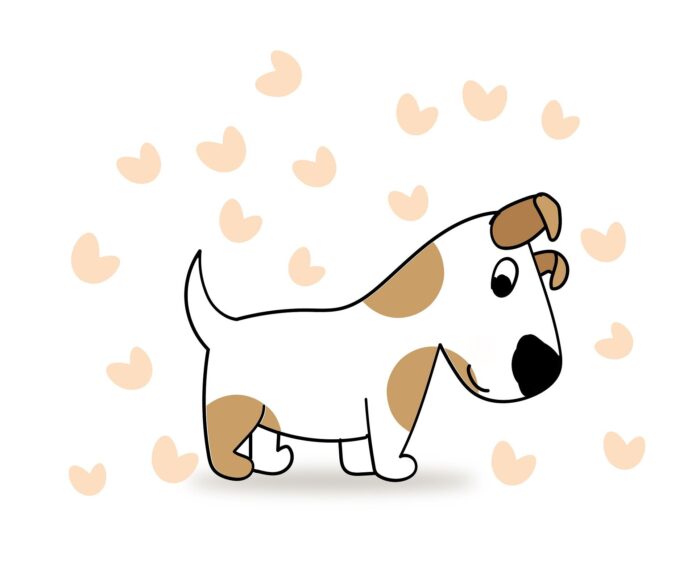
Drawing a dog can be a delightful and rewarding experience, whether you’re a beginner or an experienced artist. Follow these step-by-step instructions to create your own charming dog illustration.
Materials Needed:
- Drawing paper
- Pencils (2B, 4B, and 6B)
- Eraser
- Fine-tip black marker or pen
Step 1: Basic Shapes
Begin by drawing a large oval for the dog’s body and a smaller circle for its head. Connect these shapes with a curved line to form the neck. This basic outline will serve as the foundation for your dog drawing.
Step 2: Legs and Paws
Add four legs to your dog, using straight lines with a slight curve to represent the natural posture. Draw small oval shapes at the end of each leg for the paws. Ensure the legs are proportionate to the body.
Step 3: Head Details
Refine the dog’s head by adding the snout and ears. Draw a rounded rectangle for the snout and two floppy ears on top of the head. Experiment with different ear shapes to give your dog a distinctive look.
Step 4: Facial Features
Add the eyes, nose, and mouth to give your dog a lively expression. Draw large, round eyes, a small triangular shape for the nose, and a smiling mouth. Play with different eye placements to convey various emotions.
Step 5: Tail
Draw a tail extending from the back of the dog. The tail can be straight or slightly curved, depending on the dog’s breed or mood.
Step 6: Body Details
Add details to the dog’s body, such as the chest and stomach. Use curved lines to define the contours and give your dog a more realistic appearance.
Step 7: Fur Texture
Give your dog a furry texture by adding short, curved lines across its body. Pay attention to the direction of the fur, following the natural flow. This step adds depth and dimension to your drawing.
Step 8: Shading
Introduce shading to your dog drawing to create depth. Identify the light source and shade the opposite side of the dog’s body. Use a blending tool or your fingers to smooth out the shading and achieve a more realistic effect.
Step 9: Finalize with Ink
Once you are satisfied with your pencil sketch, trace over the lines with a fine-tip black marker or pen. This will provide a clean and defined look to your dog illustration. Erase any remaining pencil lines.
Step 10: Background (Optional)
Consider adding a background to your dog drawing, creating a setting that complements the charm of your canine character. This could be a simple grassy field or a cozy living room.
Step 11: Add Personal Touches
Feel free to add your personal touches, such as additional details, colors, or experimenting with different art techniques. Customize your dog illustration to make it uniquely yours!
Drawing a dog can be a joyful and creative activity. Embrace your creativity, enjoy the process, and celebrate the unique personality you bring to your furry friend on paper.


